How to Use the WP AI Assistant (WordPress SaaS Plugin) in 6 Simple Steps
Who this guide is for: WordPress admins, site builders, agencies, and creators who want to automate small but powerful tweaks—without writing PHP from scratch.
TL;DR
- 1Type what you want the plugin to build.
- 2Answer a few clarifying questions.
- 3The Assistant validates and finalizes the spec.
- 4Your extension is generated.
- 5Test it safely using test mode.
- 6Edit and iterate anytime.
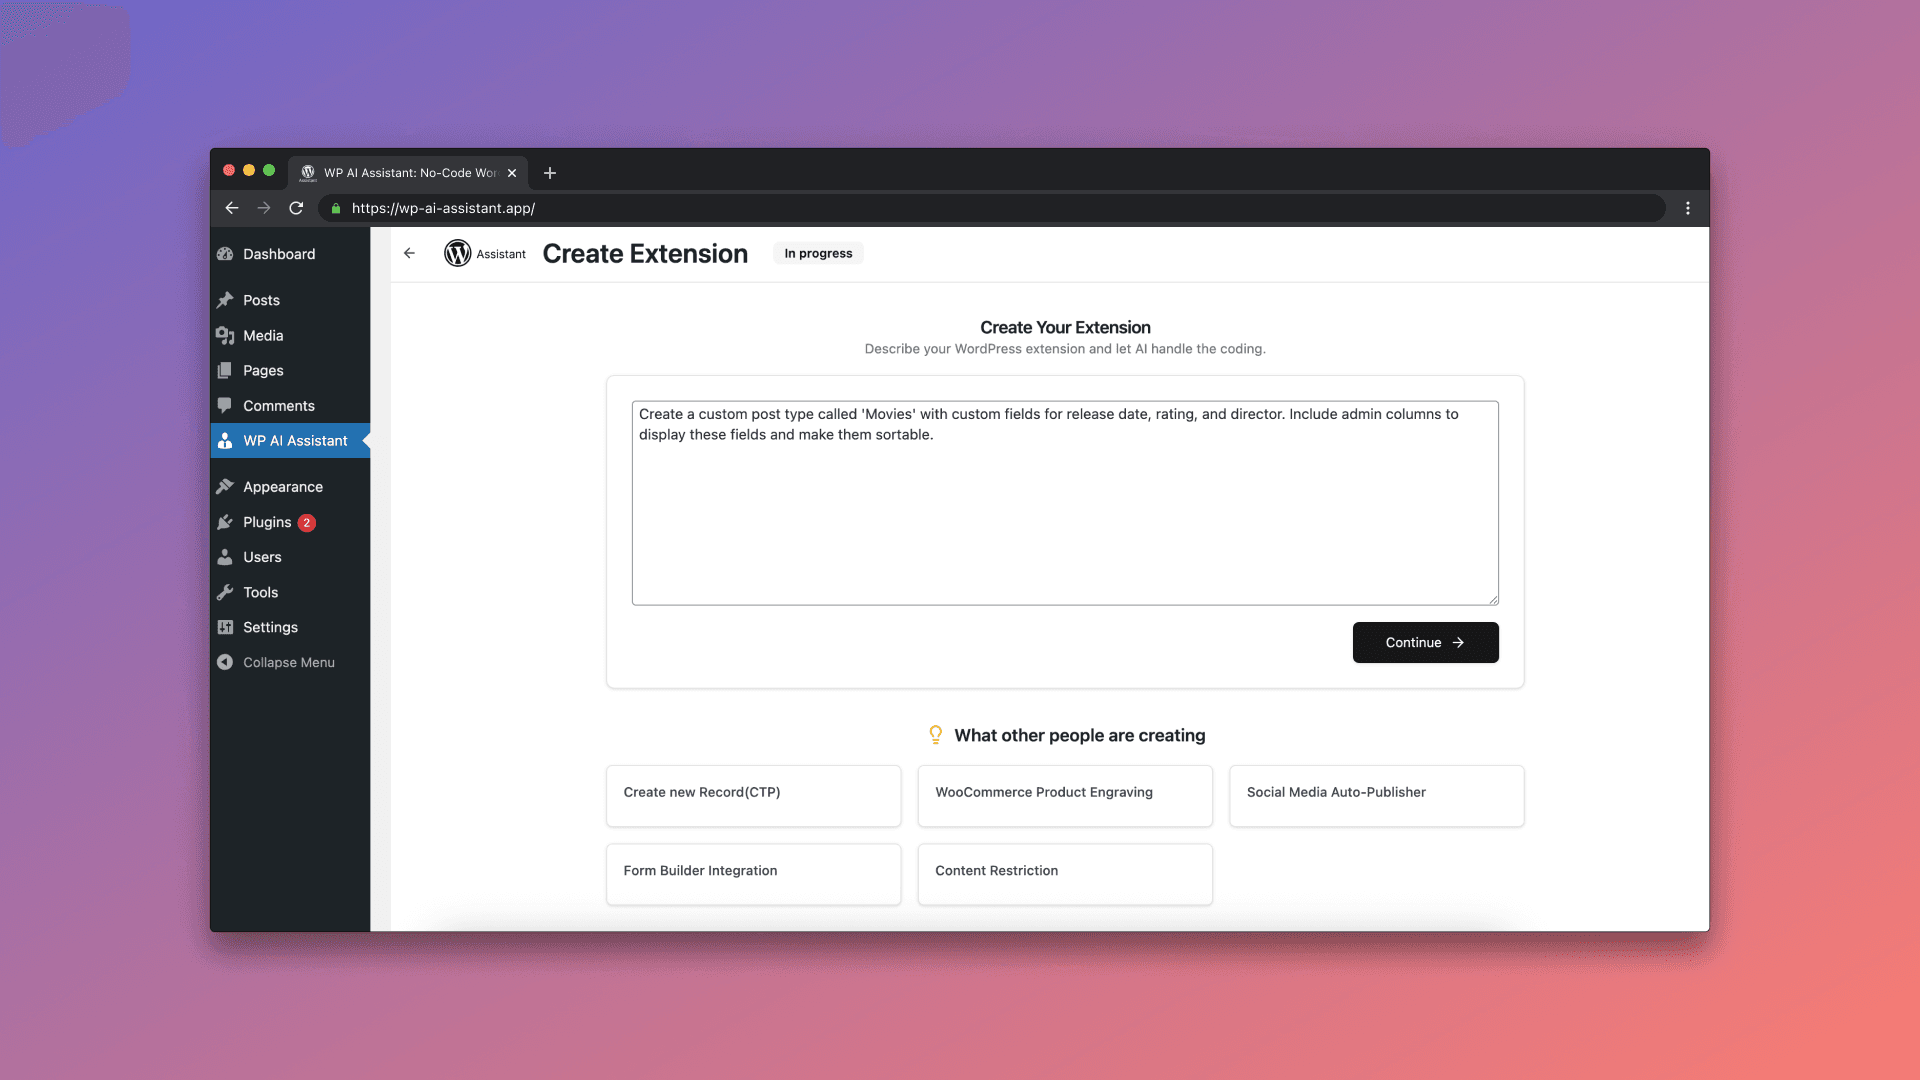
Fill in the prompt for your request
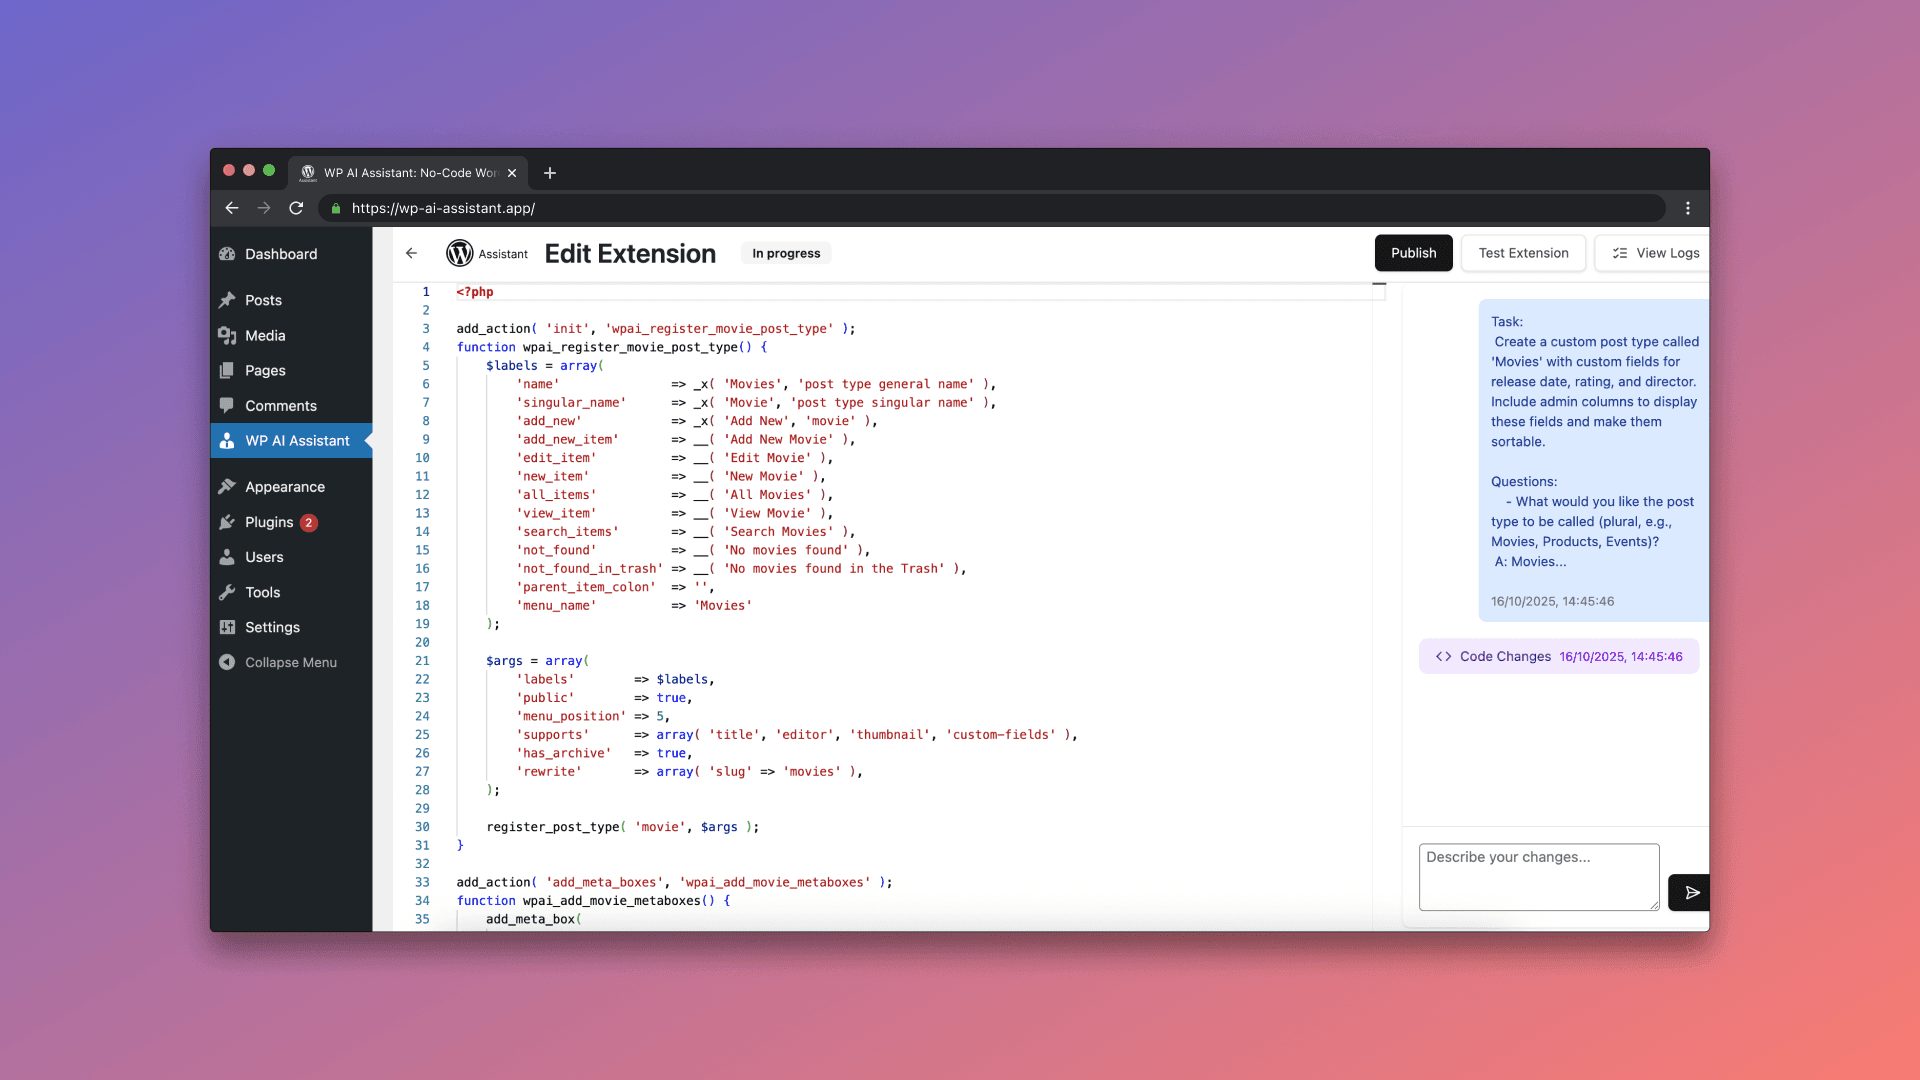
We designed the prompt field to be plain‑English friendly. You tell the Assistant the change you want, and it translates your intent into production‑ready WordPress code. For this walkthrough, we'll use:
“Create a custom post type called ‘Movies’ with custom fields for release date, rating, and director. Include admin columns to display these fields and make them sortable.”
A strong prompt makes the whole process smoother. Be specific about naming, where it should appear (e.g., in the main menu), and how you'll use it (e.g., sortable admin columns). If you already follow a slug or naming convention—like movies, movie_release_date—add that to your prompt. You can also mention roles and capabilities and whether the post type should support archives, thumbnails, or REST API access.
Pro tip: If you're not sure about details, write what you know and leave the rest. The Assistant includes a built‑in wizard that recognizes generic prompts and asks targeted follow‑ups (see Step 2). You don't have to get it perfect on the first try.
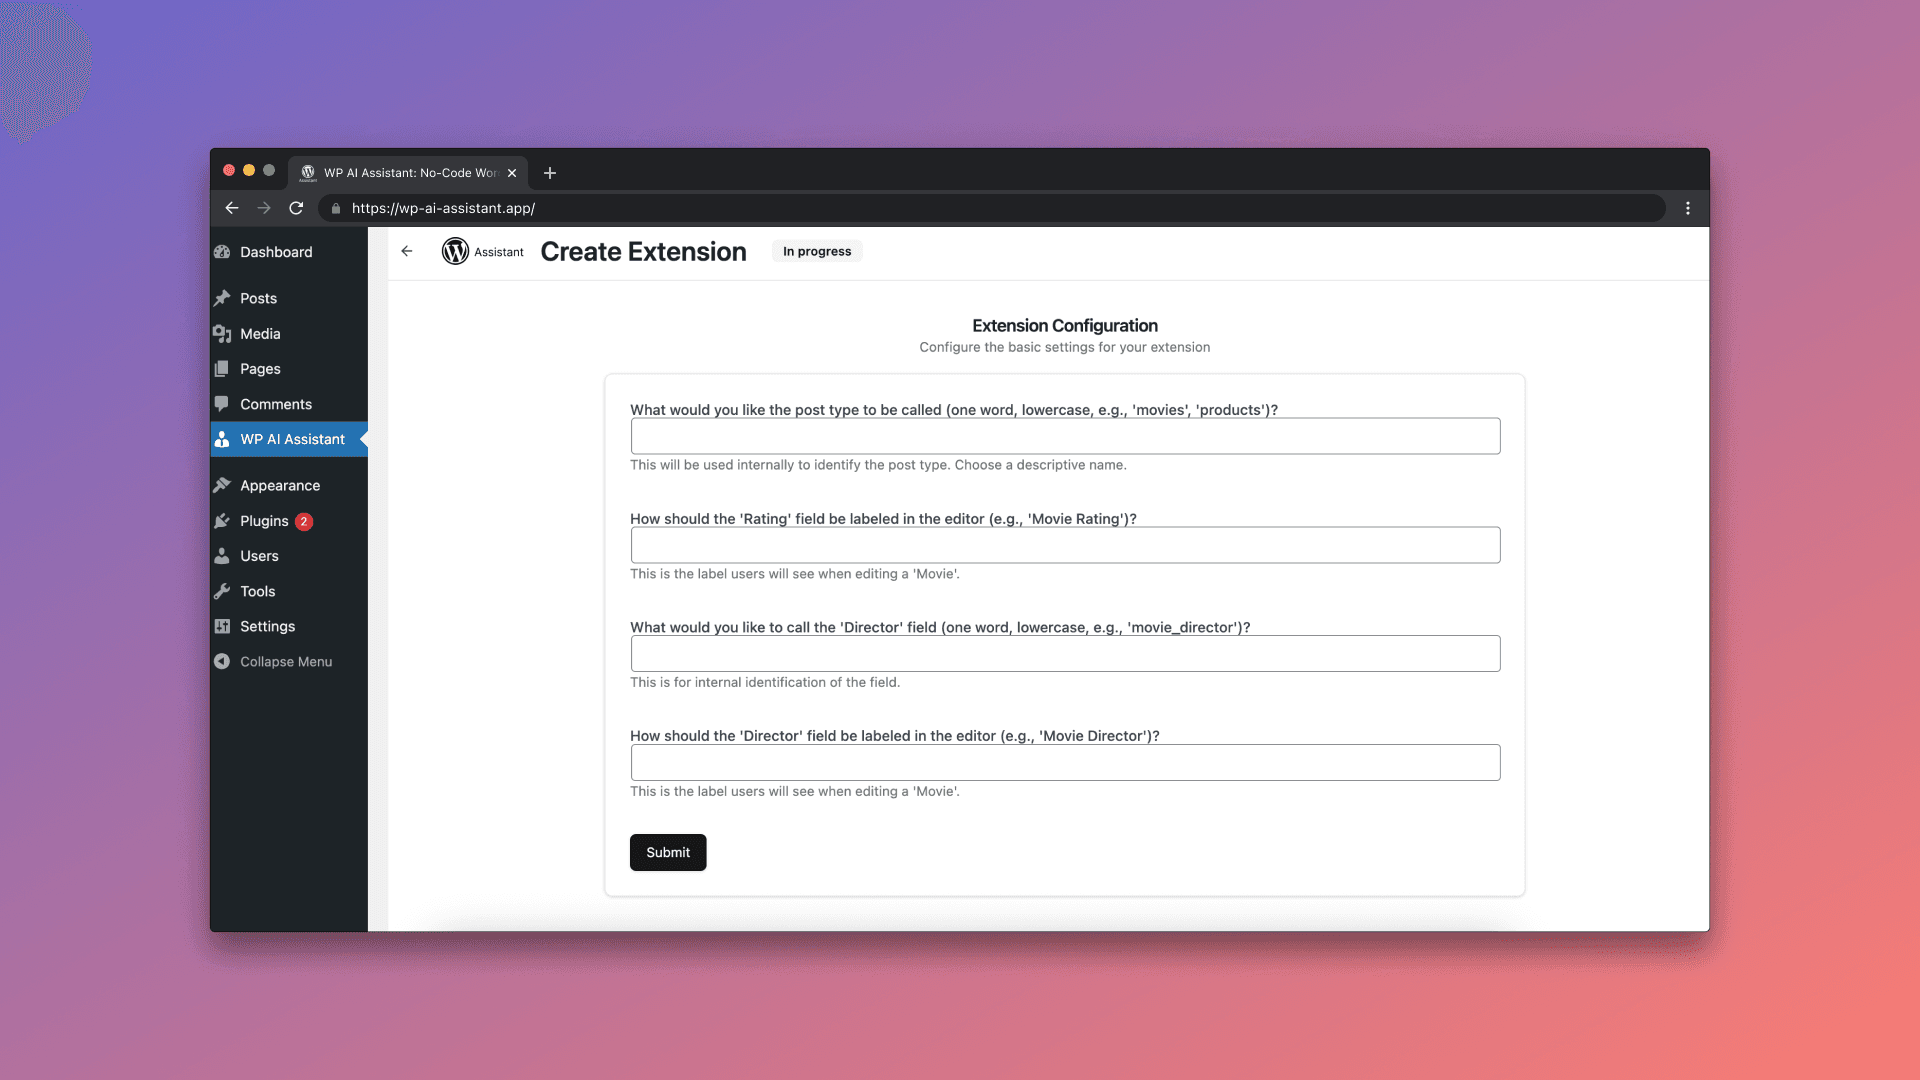
Review the Assistant’s questions and give detailed feedback
After you submit your prompt, the Assistant may ask a short set of clarifying questions. This is normal and saves you rework later. For our “Movies” example, you might see questions like:
- • Should the Movies post type be public and queryable on the front end?
- • Preferred slugs for custom fields (e.g.,
movie_release_date,movie_rating,movie_director)? - • Field types (date picker, number, text)?
- • Which roles can manage this post type?
- • Any taxonomy needed (e.g., Genre)?
Answer as completely as you can. The more precise your feedback, the better the generated code will match your site standards. If you're unsure, say so—the wizard uses sensible defaults and will still produce a safe, working extension.
This step is also where SEO thinking starts. If you plan to surface Movies on your site, consider permalinks, archive pages, and schema. Add notes like “Please add support for has_archive, enable REST for headless use, and register a Genre taxonomy.”
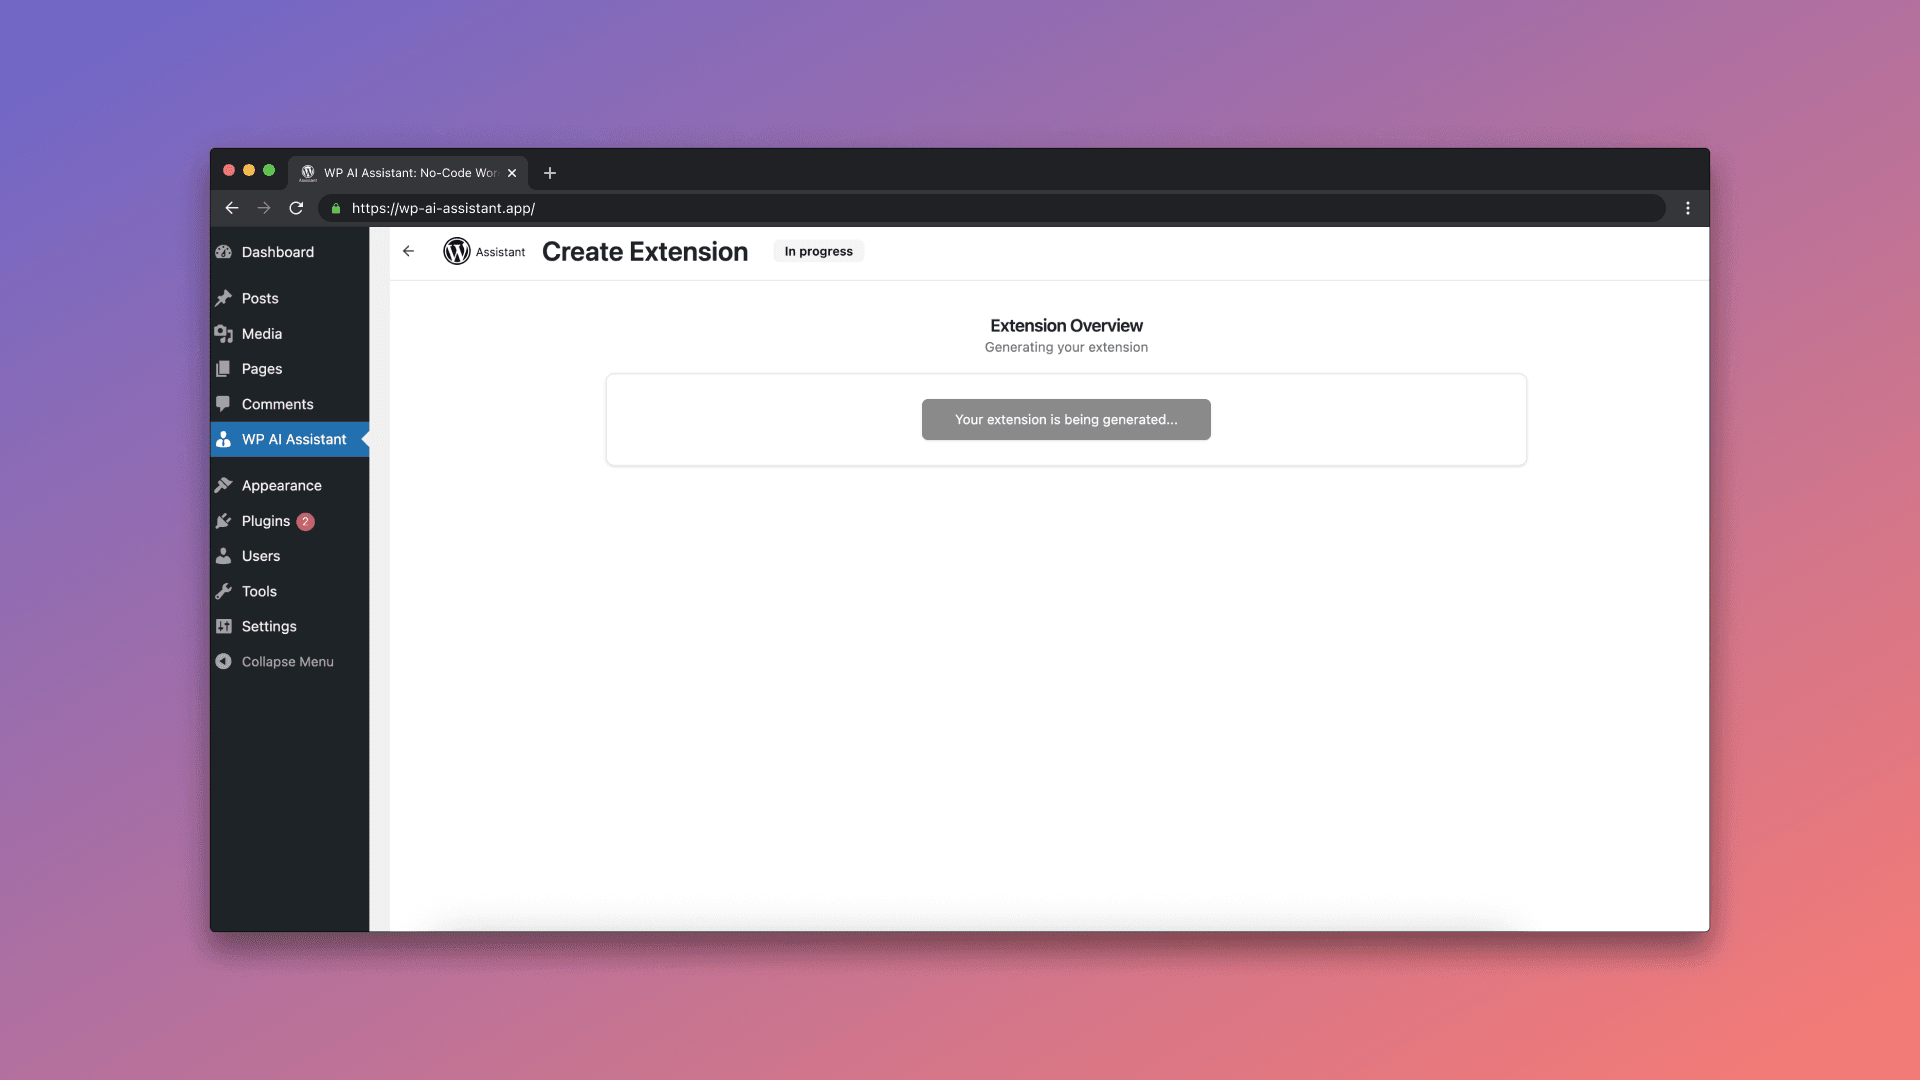
The Assistant reviews your request and finalizes the build
Once you've answered the questions, the Assistant validates your plan and determines whether it needs anything else. Behind the scenes, it checks for common pitfalls (conflicting slugs, missing capabilities, or edge cases) and prepares code with built‑in error handling so your site won't crash even if something unexpected happens. If anything is unclear, you'll get one more short round of questions; otherwise, it moves straight to generation.
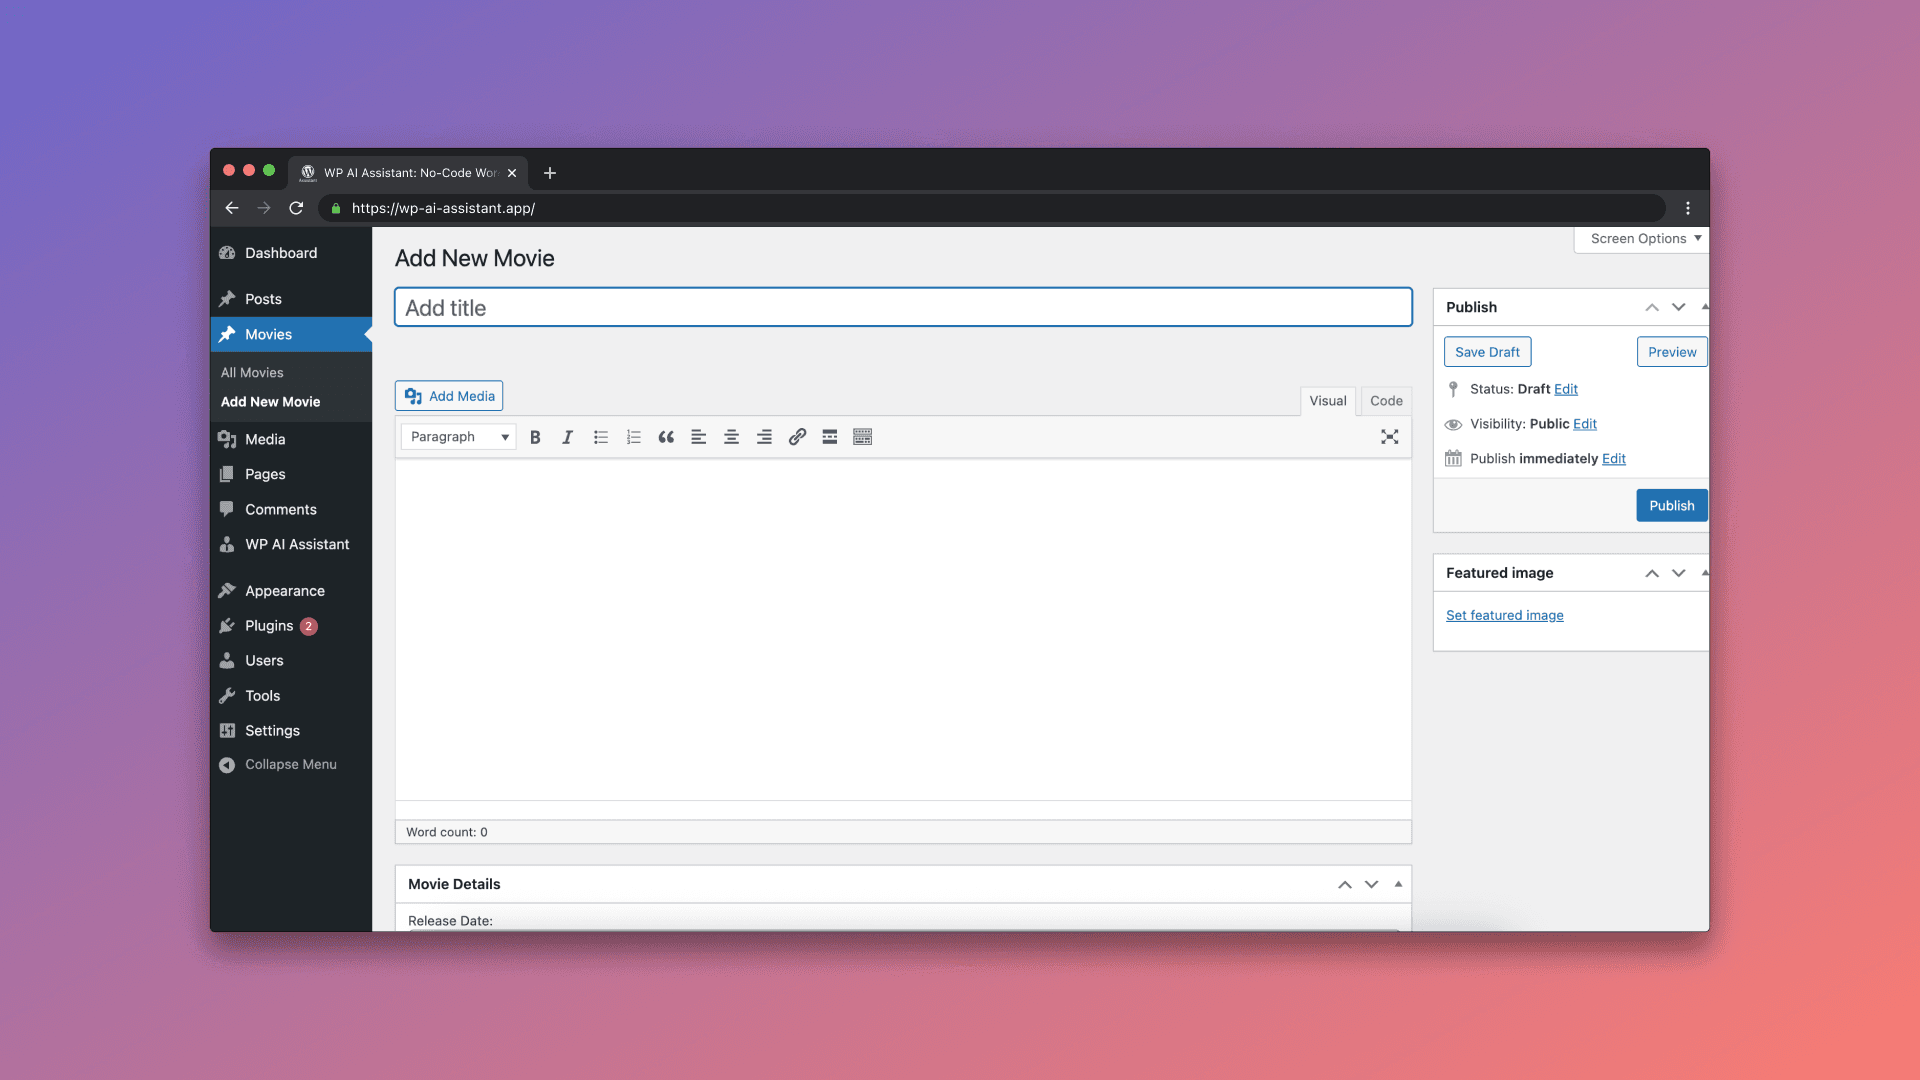
For the “Movies” example, the Assistant will generate a custom post type (movies) plus three custom fields (movie_release_date, movie_rating, movie_director) and add sortable admin columns for each. It also ensures the code is compatible with your current WordPress version and follows best practices for registering post types and meta fields.
Before finishing, it stores the extension in your WP AI Assistant database, so you can reuse or tweak it later without starting from scratch. You'll also see a summary of what's being created—perfect for quick review or sharing with teammates.
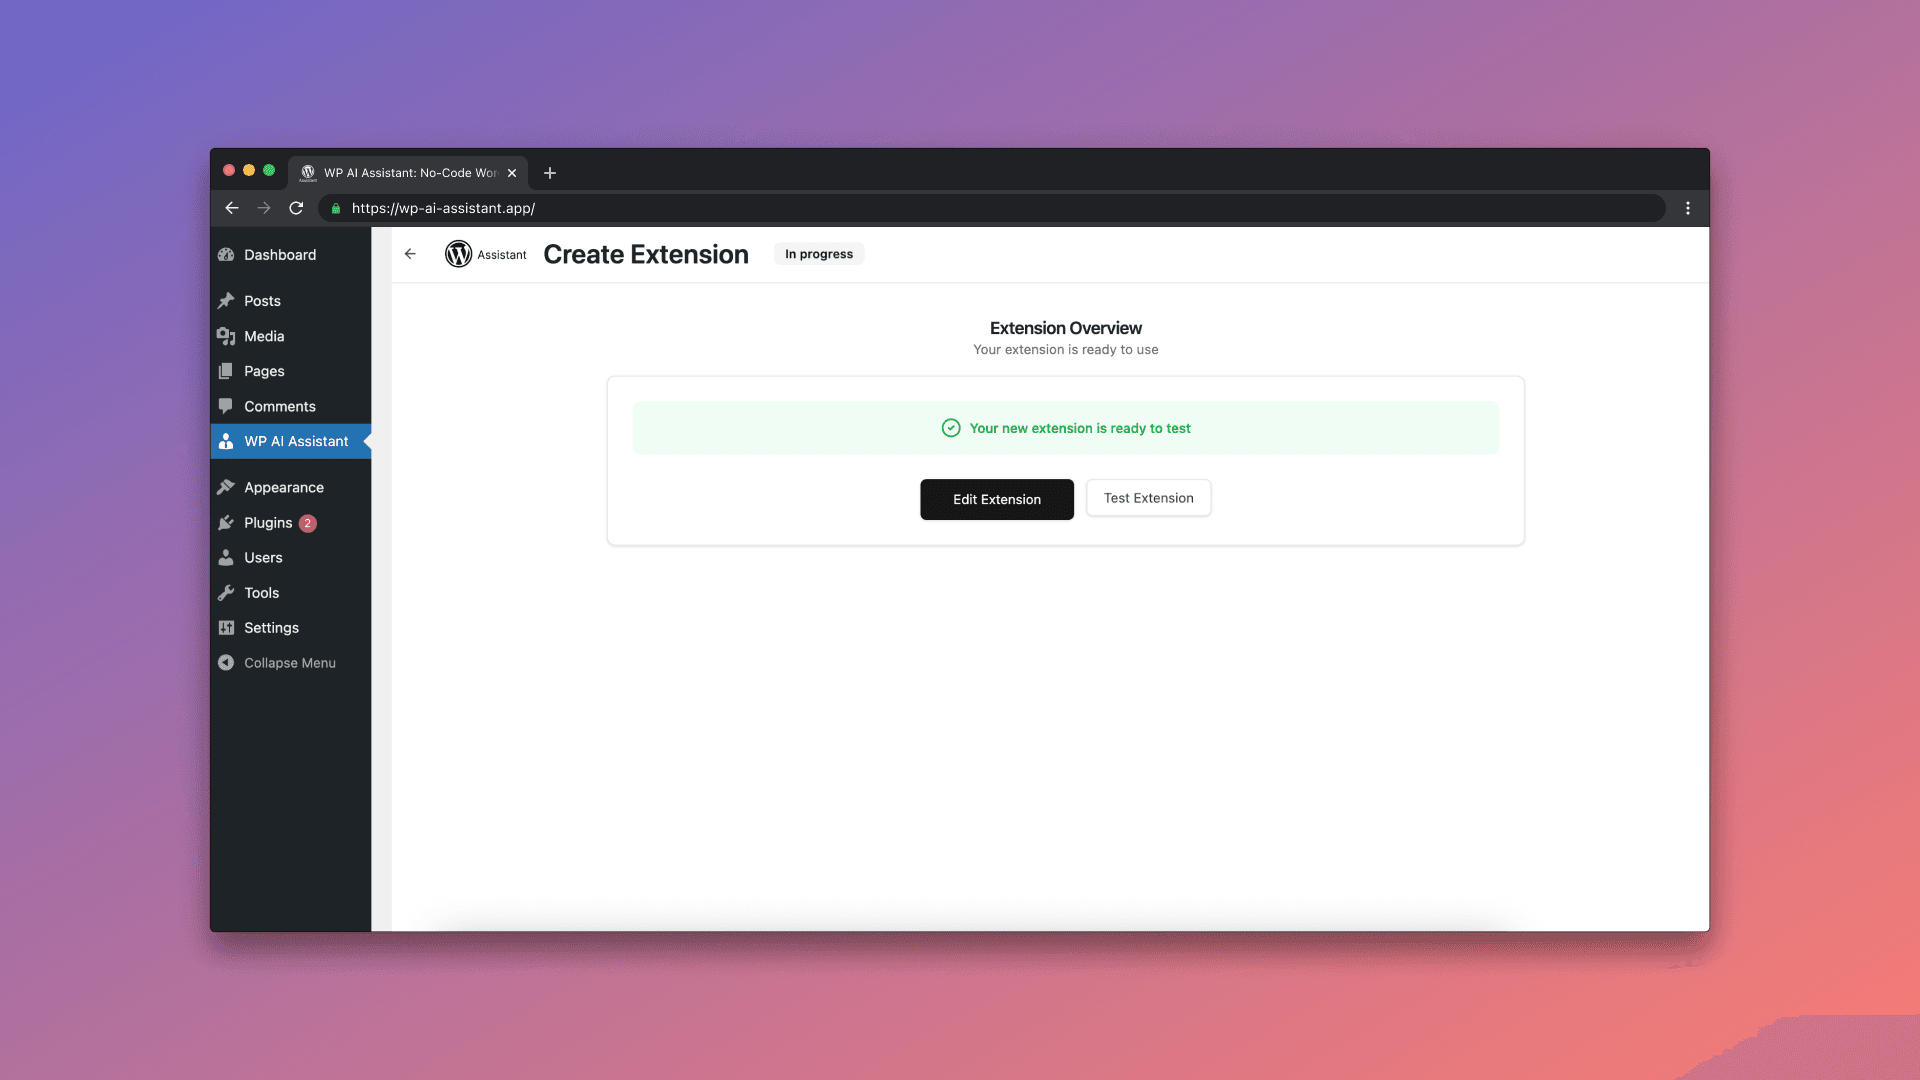
Request completed—choose Test or Edit
When the extension is ready, you'll see two options: Test and Edit. Testing lets you try the extension in a sandboxed way using a special query parameter, while Edit opens the generated code/spec for adjustments (rename a field, add supports, change labels, etc.). Most teams check the summary first, then go straight into Test mode for a safe trial.
If you prefer to review code style or naming conventions first, click Edit to make precise changes. All edits are versioned; the earlier versions are stored so you can roll back or compare later.
Always test first (safe mode with query parameter)
Testing is where this plugin really shines. Flip the extension to Test Mode and preview the change without affecting regular visitors. The extension only runs when the URL includes:
?wp-ai-extension={id_of_extension}This means you and your team can verify the new Movies post type, create a few sample entries, and confirm the admin columns are sortable—without exposing any half‑finished changes to customers or editors. It's ideal for catching small mismatches (like slug names or labels) before you ship.
During testing, try to break things on purpose. Add edge values (e.g., ratings outside expected ranges), remove field values, and confirm errors are handled gracefully. The plugin's error‑catching layer ensures your site won't go down if something unexpected happens, and all issues are surfaced for quick fixes.
Finally, check the front end. If you enabled archives or a taxonomy like Genre, click through the site using the test URL and confirm templates render as expected. If your theme needs a small tweak (e.g., template part for the Movies archive), note it now—fixes are easier before publishing.
Edit, iterate, and publish with confidence
After testing, use Edit to make refinements. Maybe you want the rating field to be decimal instead of integer, or you decide to make the director optional. The Assistant makes quick edits painless: update the spec, regenerate, and retest with the same query parameter. Once you're happy, disable Test Mode and the extension goes live for everyone.
Because each extension is stored in your internal library, you can come back later to clone or tweak it (e.g., build a similar Shows post type). The built‑in frontend widget can display which extensions are active, keeping your team informed and easing handoffs between developers, marketers, and content editors.
As you iterate, keep SEO in mind. For content‑facing post types, consider schema markup, readable permalinks, and archives. If you run a headless setup, confirm REST settings are enabled so apps can query Movies cleanly.
Why teams love this workflow
- 💡 Safer deployments:Test mode isolates changes until you approve them.
- 🛡️ Resilient by design:Error catching prevents site‑breaking fatals.
- 📚 Reusable library:Every extension you generate is saved for later.
- ⚡ Faster iteration:Wizard + Edit loop gets you from idea to production quickly.
- 👀 Visibility:Optional frontend widget shows what's active.
Frequently asked questions
Will this break my site?
Highly unlikely. Extensions are wrapped with error handling, and Test Mode keeps changes isolated until you're ready.
Can I use this without coding knowledge?
Yes. The prompt + wizard flow handles the heavy lifting. Developers can still pop the hood and make precise edits.
What if I need something more complex (e.g., custom capabilities or REST endpoints)?
Add those details to your prompt, or use Edit to refine. The Assistant can register capabilities, taxonomies, REST exposure, and more.
Can I reuse an extension later?
Absolutely. Everything you generate is stored in your extensions database for cloning or updates.
Ready to build your first extension?
Open Dashboard → WP AI Assistant → Create Extension, paste your prompt, and let the wizard guide you. Test safely, ship confidently, and iterate whenever you need.